Custom Velocity Checks
Creating and managing custom velocity checks using Freeform Conditions
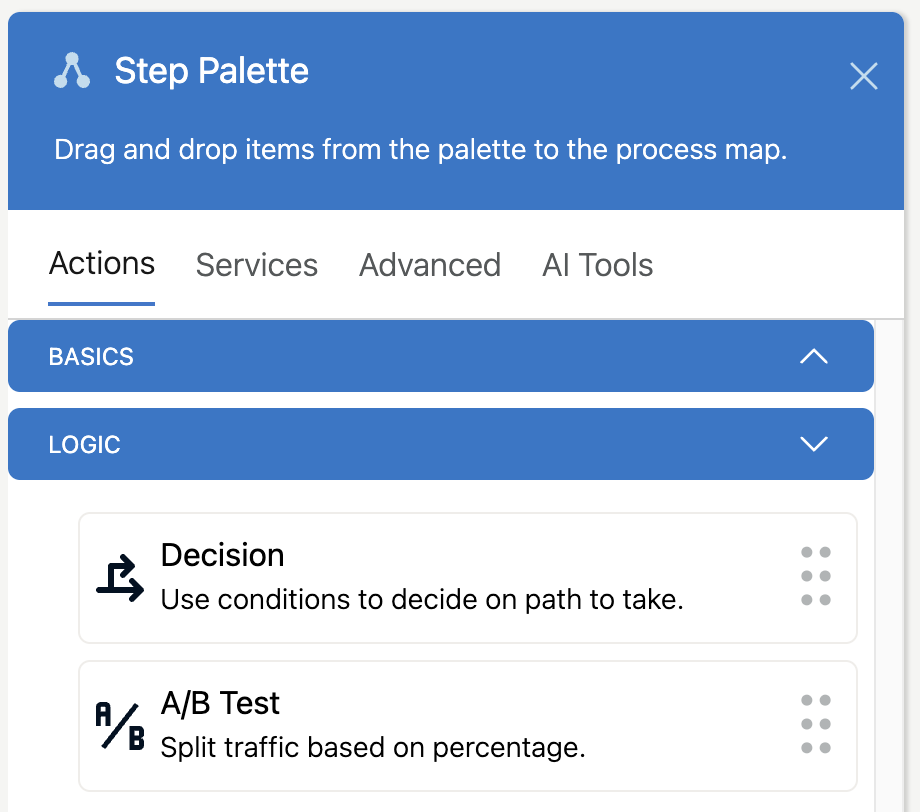
Start by going to the step palette and adding a decision
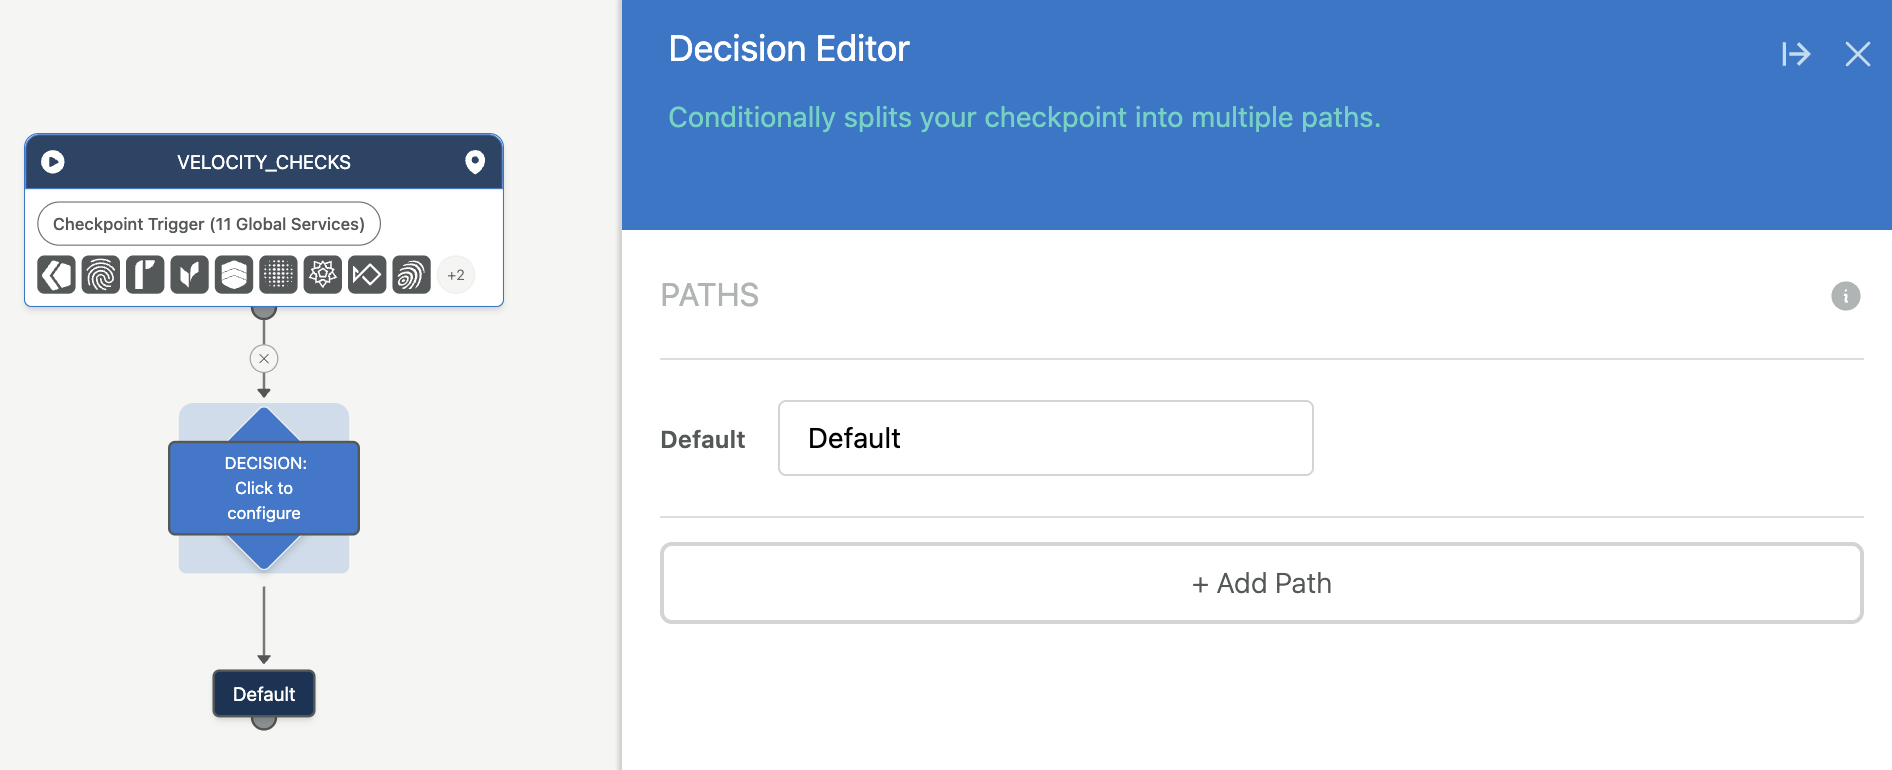
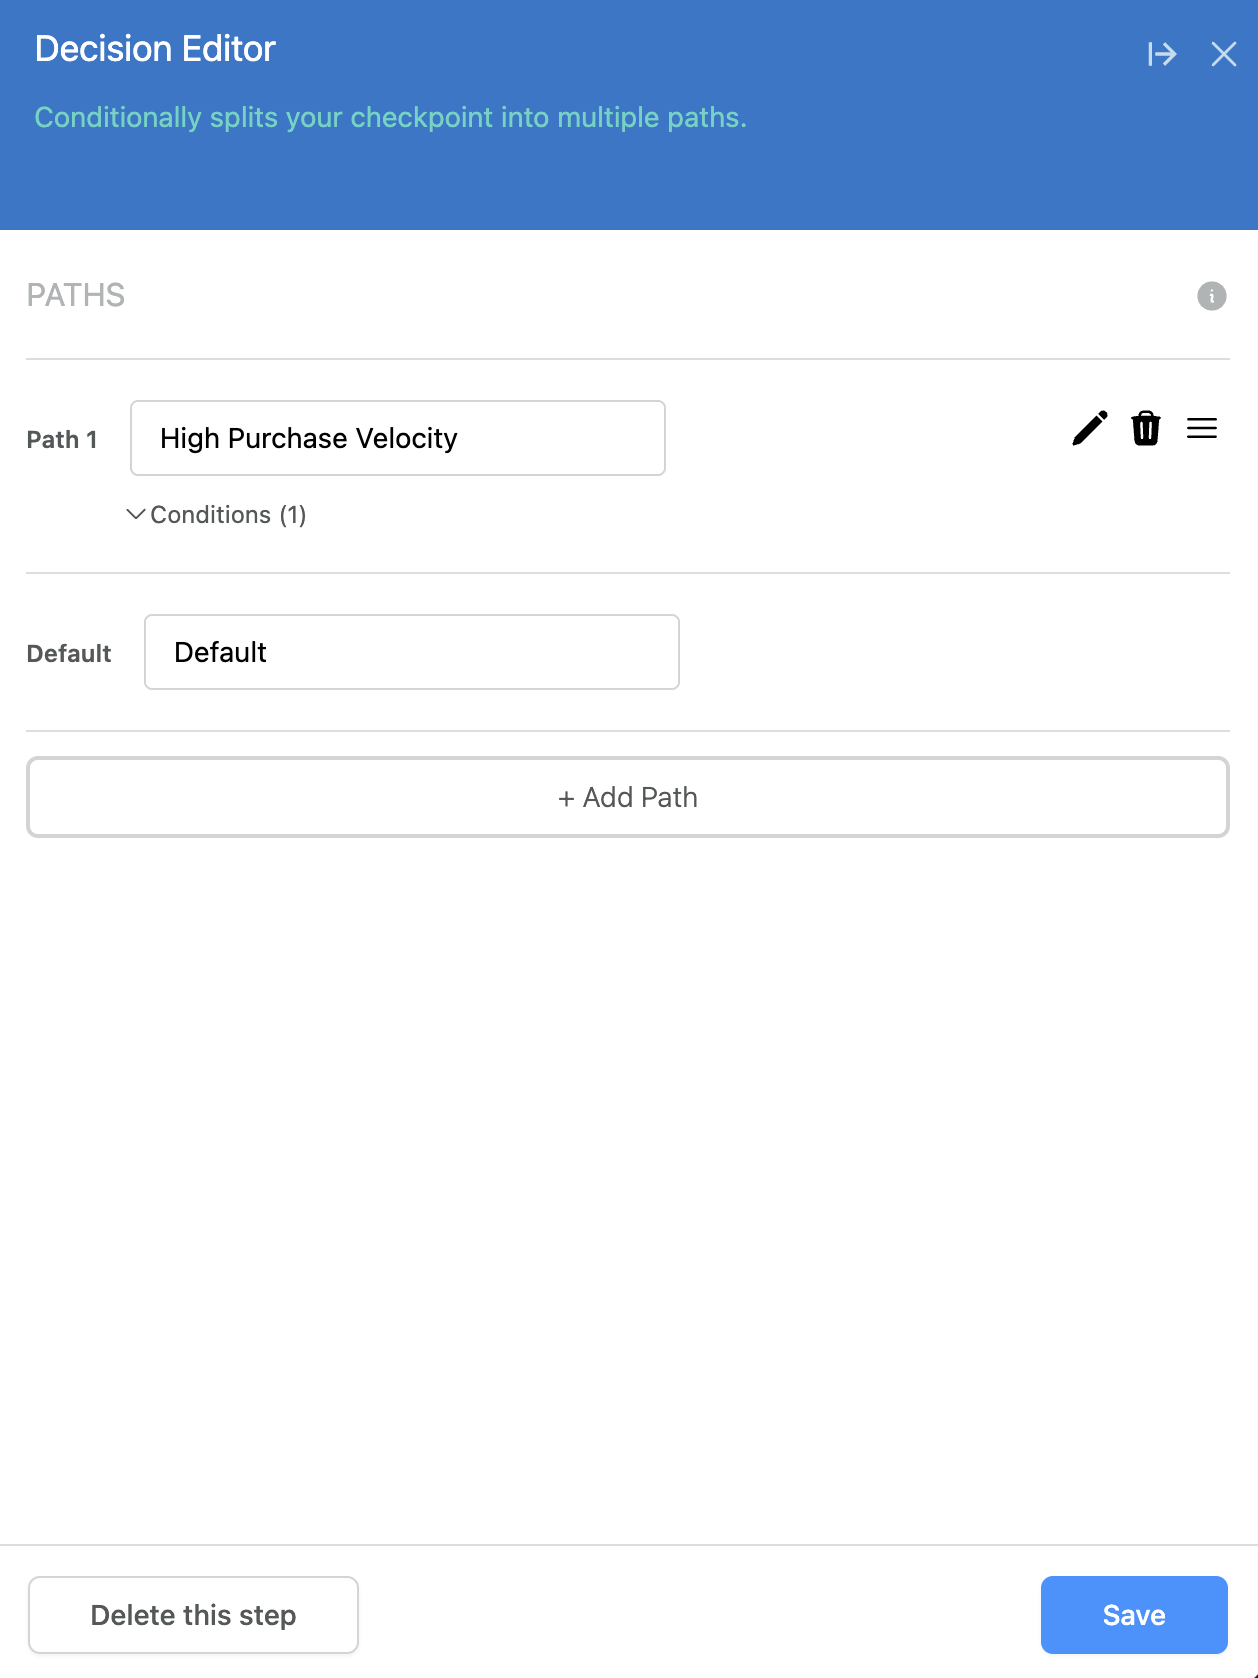
Then Click the Decision to start configuring
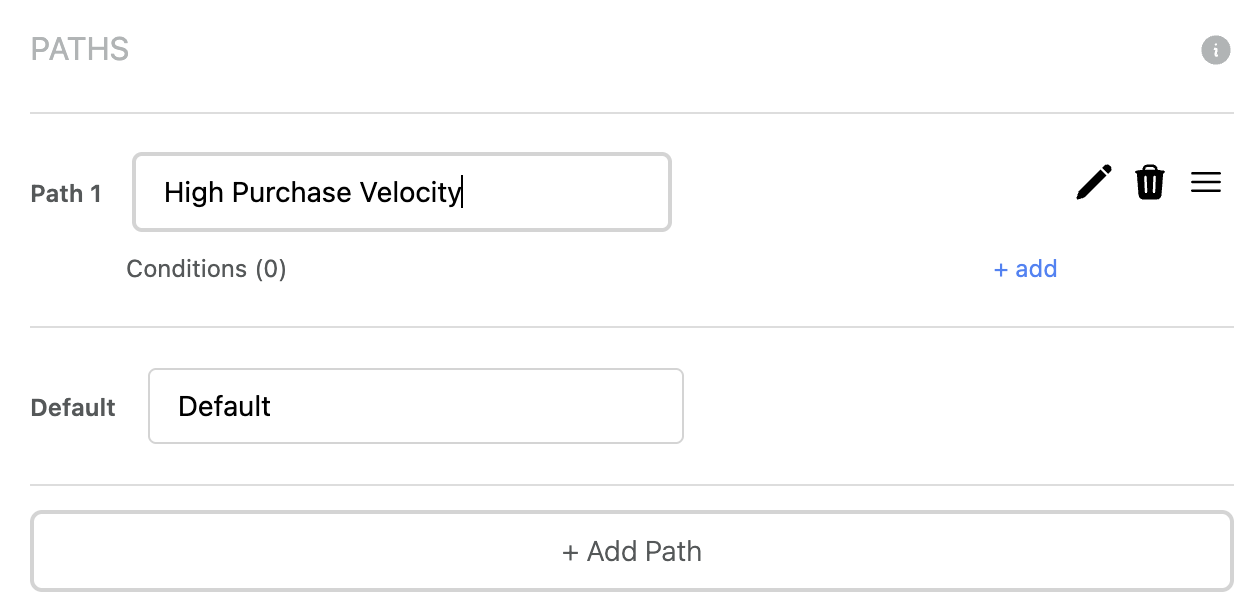
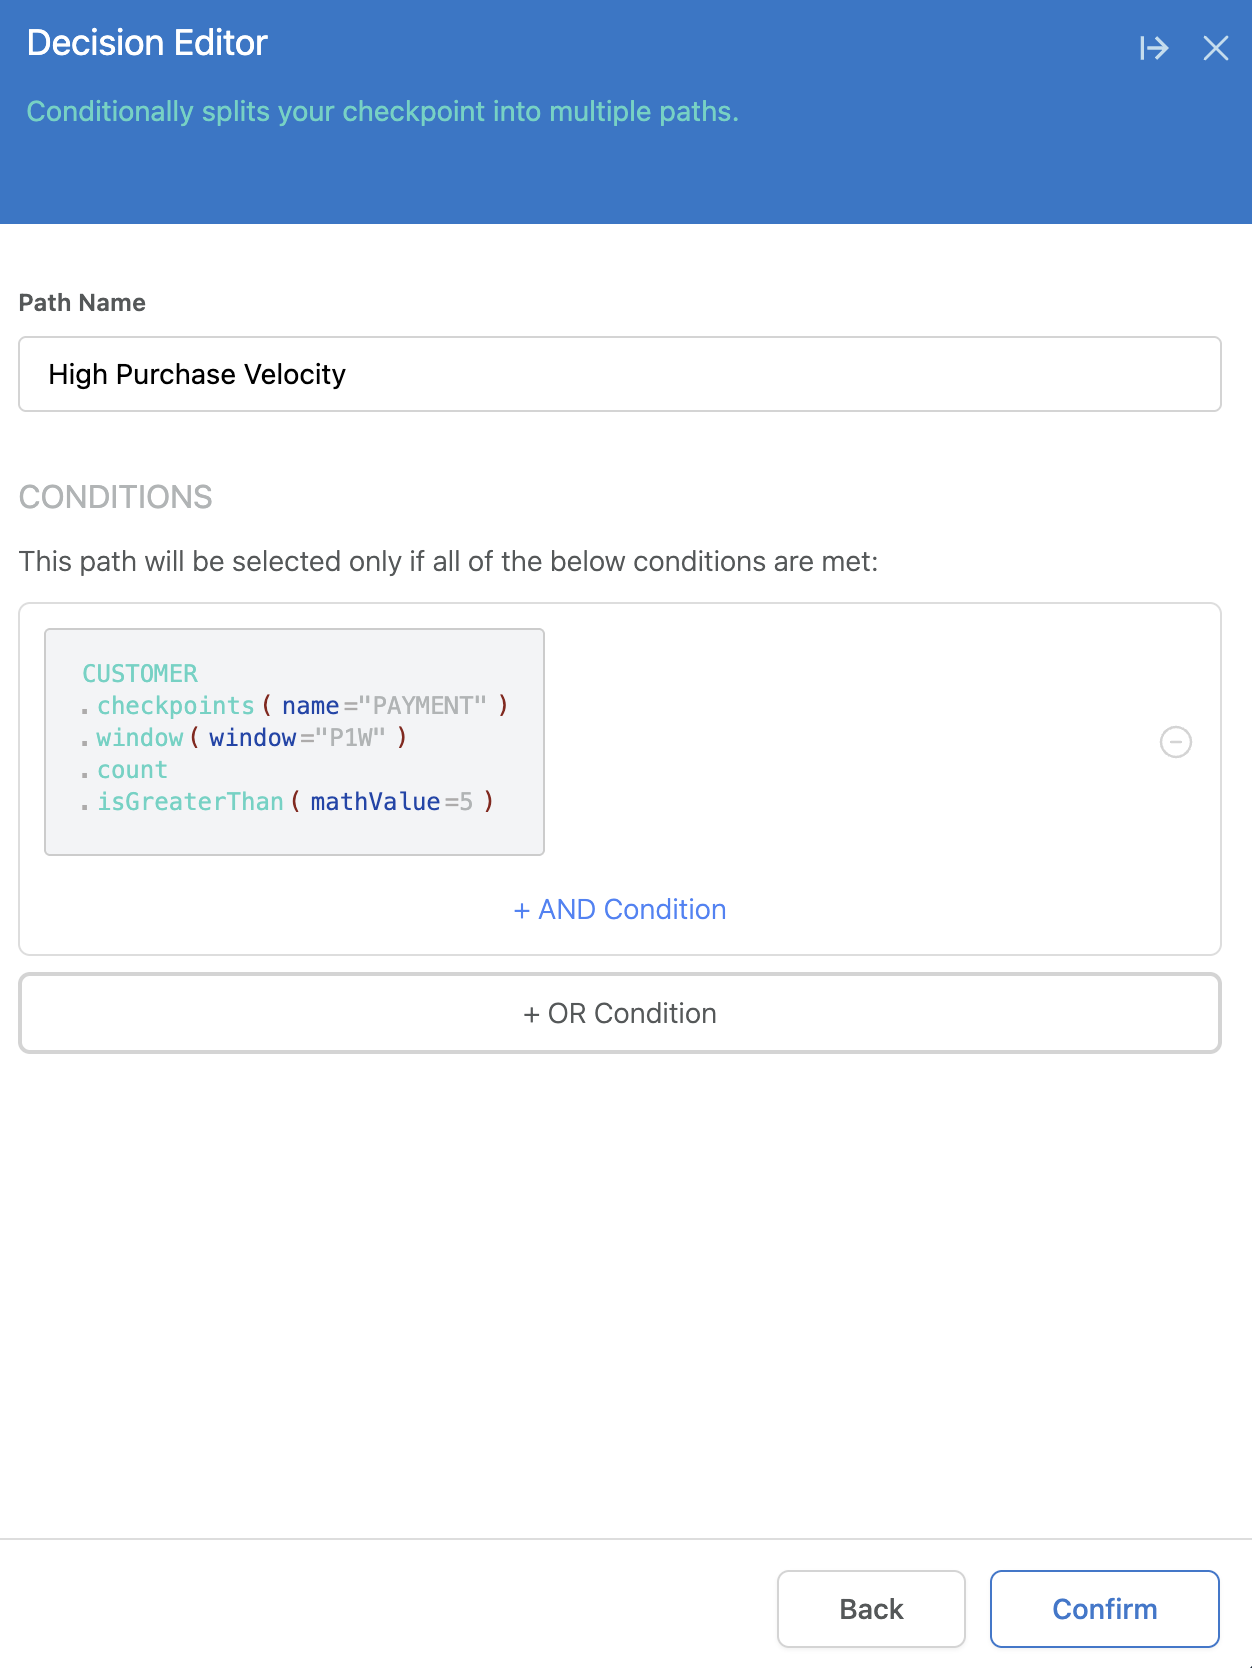
Then Add a Path, for example "High Purchase Velocity" and click to add your first condition
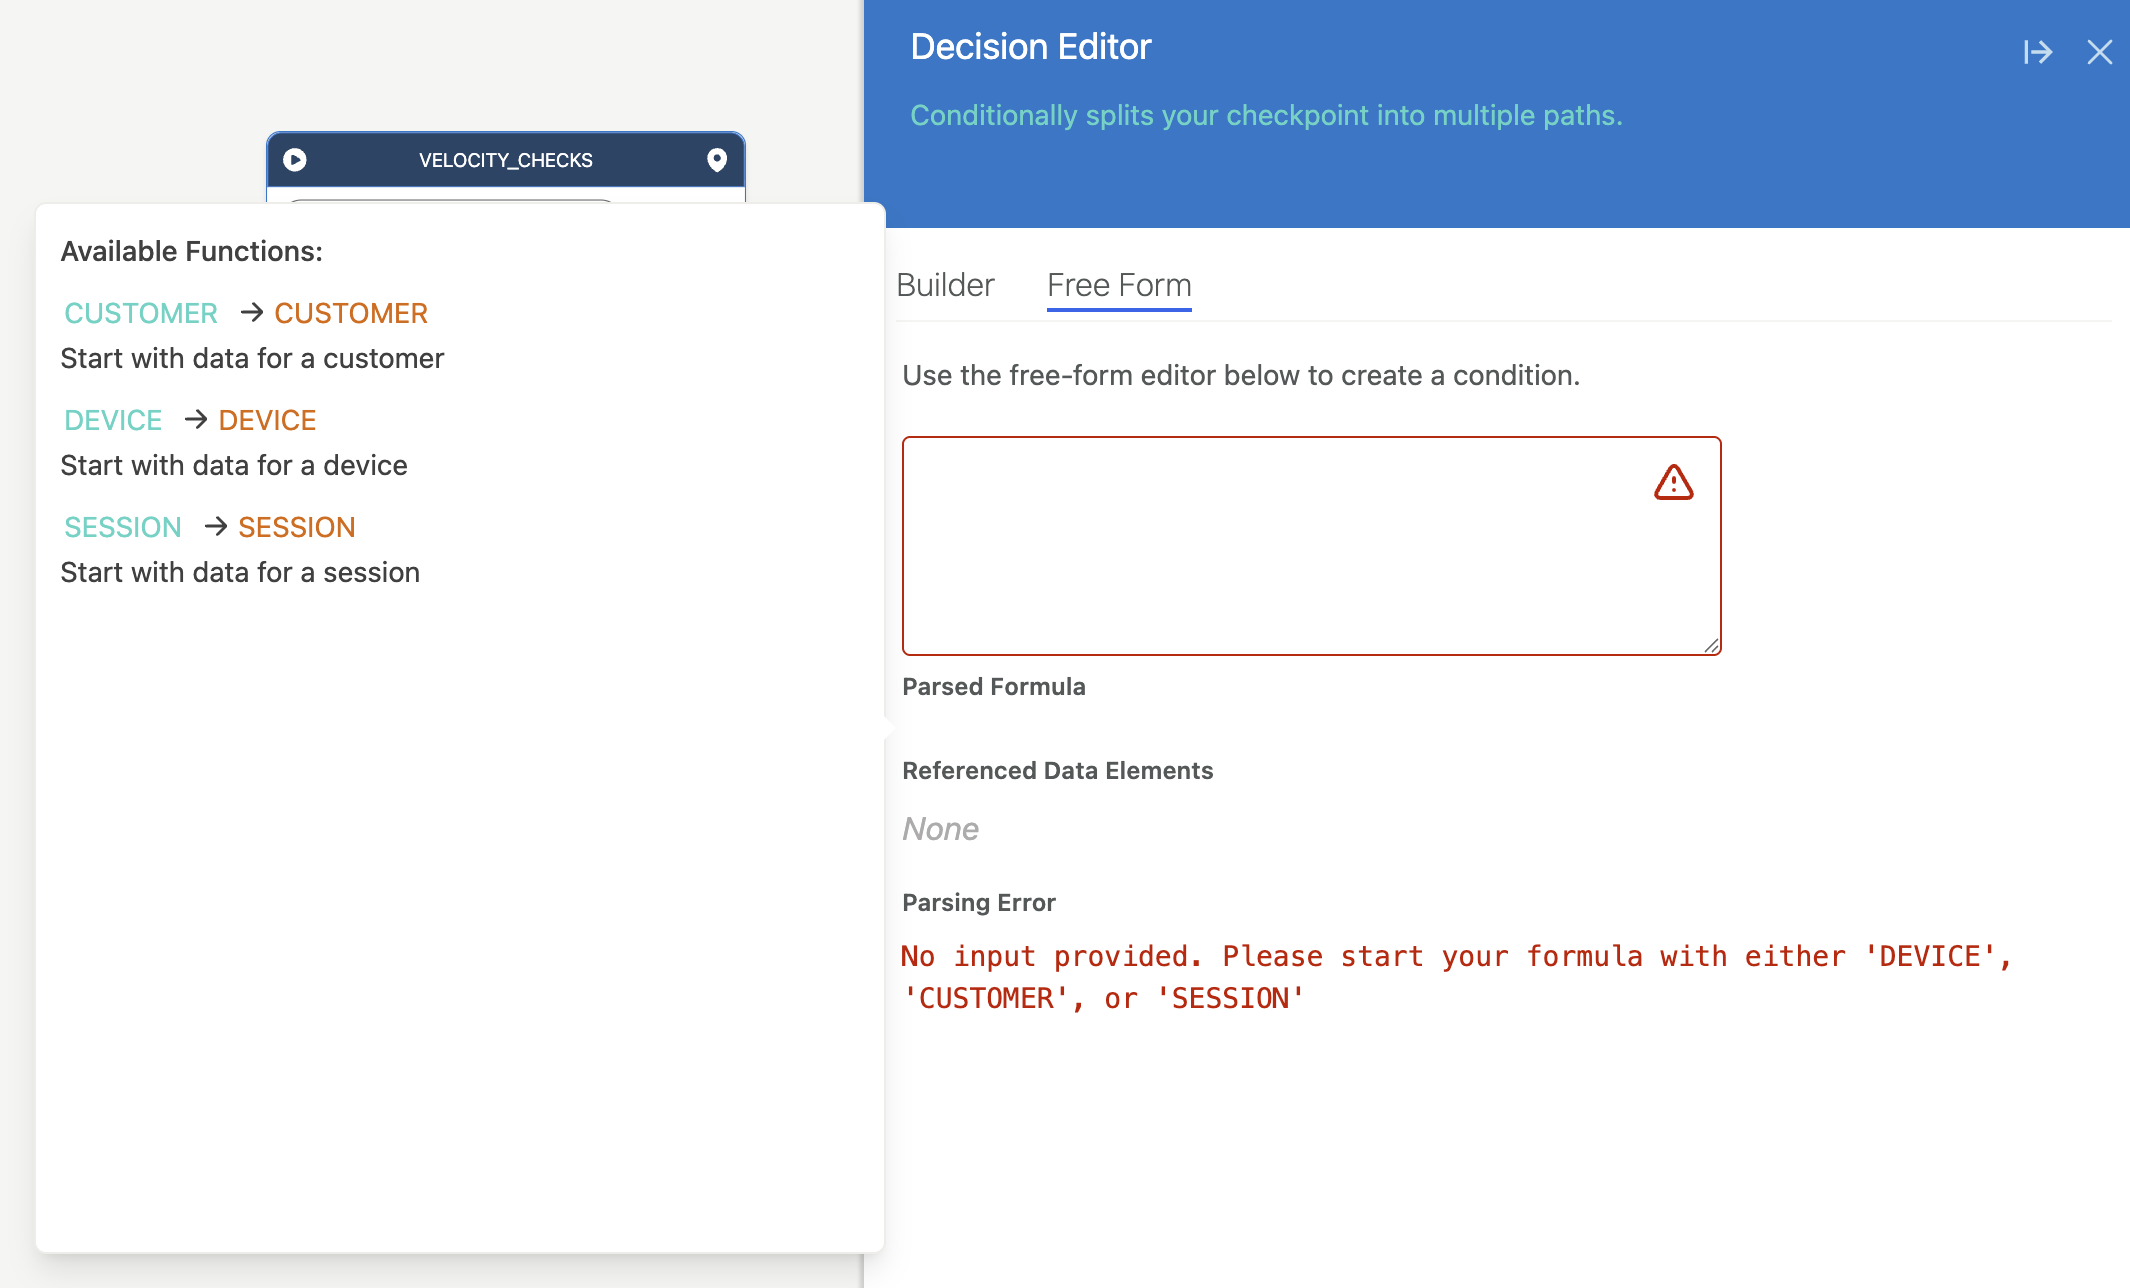
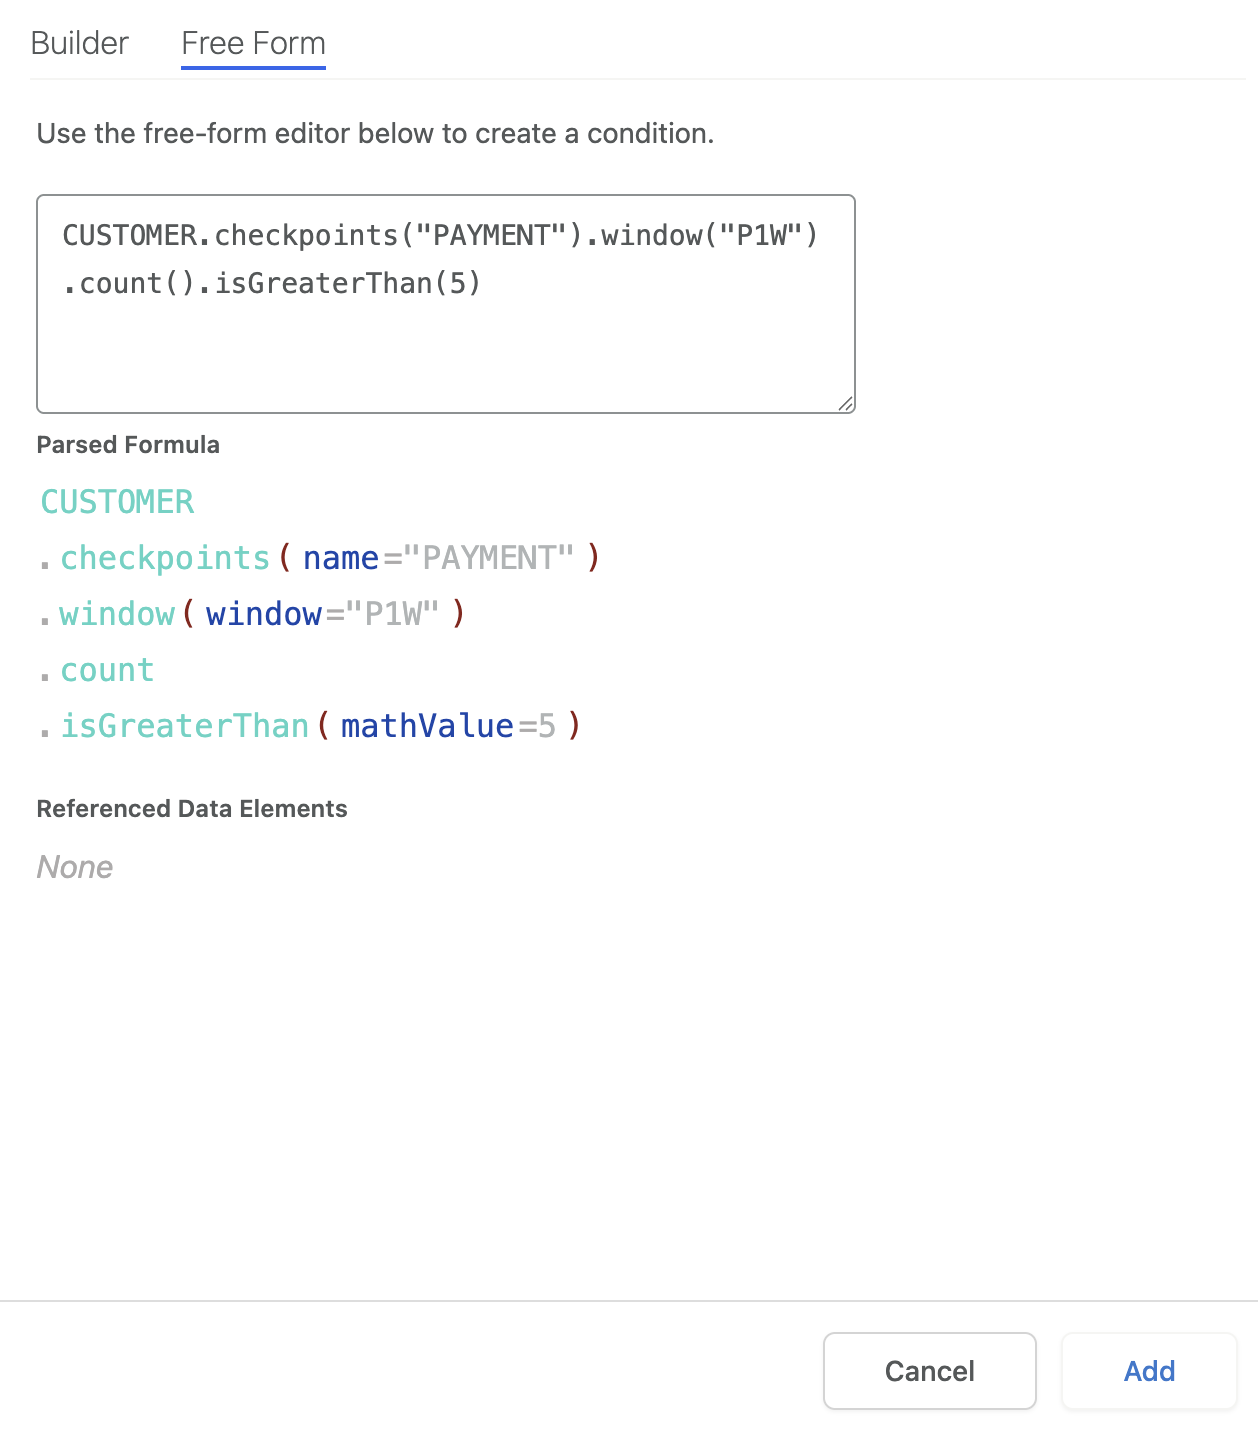
Select "Free Form" and start entering a condition, you will be guided through the process of writing your condition, but look below to see some prebuilt examples with explanations:
Here are two example velocity formulas:
More than 5 "PAYMENT" Checkpoints in the last week for this Customer.
CUSTOMER.checkpoints("PAYMENT").window("P1W").count().isGreaterThan(5)
Less than 5 "FAILED_LOGIN" events in in the last hour for this Customer.
CUSTOMER.events("FAILED_LOGIN").window("PT1H").count().isLessThan(5)
These functions are like building blocks, and each part can be customized in many ways. Here are some examples of what each part means.
- At the start of each function, choose what you want to consider
CUSTOMER,DEVICEorSESSION - Choose whether you want to count
checkpointsoreventsfor your velocity metrics. Events are more flexible, but are sent usingDodgeball.eventusing the Server SDK. Checkpoints are sent by usingDodgeball.checkpointfrom the Server SDK. Each is referenced by name. - Choose your
window(how far your want to look back), the text inside must be an ISO 8601 Duration count()tells Dodgeball to count up the number of checkpoints/events within the window, this is an important part of velocity checks.- The final step is your comparison function. We support a number of comparisons, which are all documented in the editor. For example
isGreaterThanisGreaterThanOrEqualToisLessThan... etcetera.
Once you have the condition defined, click "Add"
Then "Confirm"
Then Save
At which point, your checkpoint will be ready to go, splitting traffic into your desired branch based on velocity!
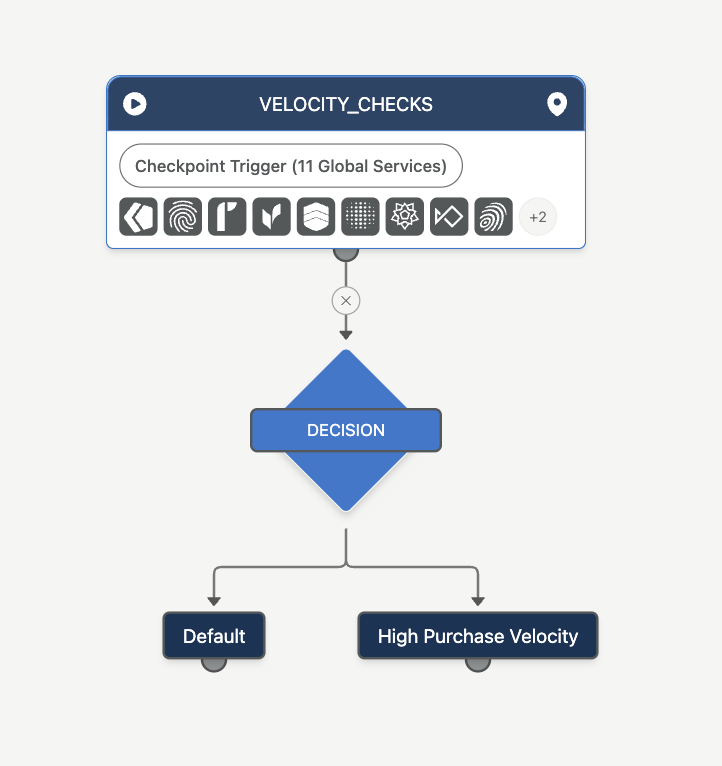
You can then add additional logic or make new paths with different conditions as desired.
Updated 3 months ago